Enquire Now

Case Study 004  ·  Underbody Restoration

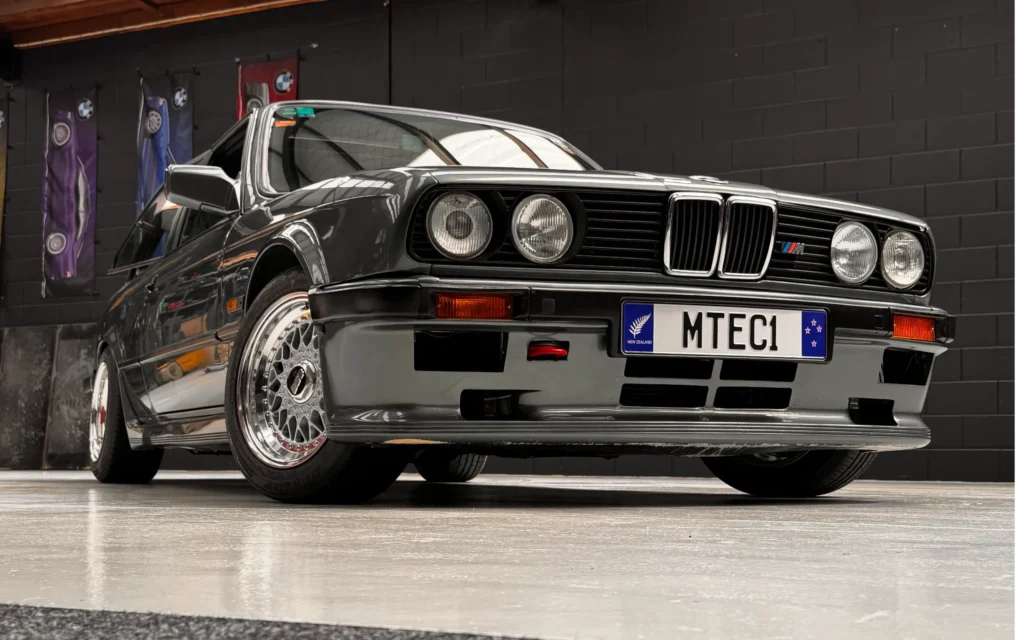
BMW E30
M-Tech 1

Thirty-six years of road film, underseal bloom and surface corrosion — lifted off an unrestored shell in two days. No water. No chemicals. Nothing dismantled.

The Brief

Clean it
without
touching it

The car came to us mid-restoration, up on a hoist, with a hard constraint: the owner wanted the underside presentable for inspection without pulling the subframes, without soaking the shell, and without putting a wire wheel anywhere near original factory markings.

That rules out almost every conventional option. Pressure washing drives water into seams and box sections and leaves you chasing corrosion for months. Chemical degreasers strip the underseal along with the grime, and the run-off has to go somewhere. Abrasive media buries itself in every cavity and turns up in the diff oil two years later.

Dry ice sublimates. It hits the surface at −78 °C, shocks the contaminant layer loose, and turns straight back into gas. The only thing left on the floor is the dirt that came off the car.

01

Strip decades of road film and oil mist from the full underbody, in situ, on the hoist.

02

Preserve sound underseal, factory paint marks, inspection stamps and cavity wax.

03

Keep water out of every seam, box section and electrical connector.

04

Leave a surface the restorer can inspect, photograph and weld to immediately.

Restoration-level results

Before & After

Same corner of the car, shot on the hoist before the first pass and again after the last. Nothing retouched, nothing colour-graded, nothing painted afterwards.

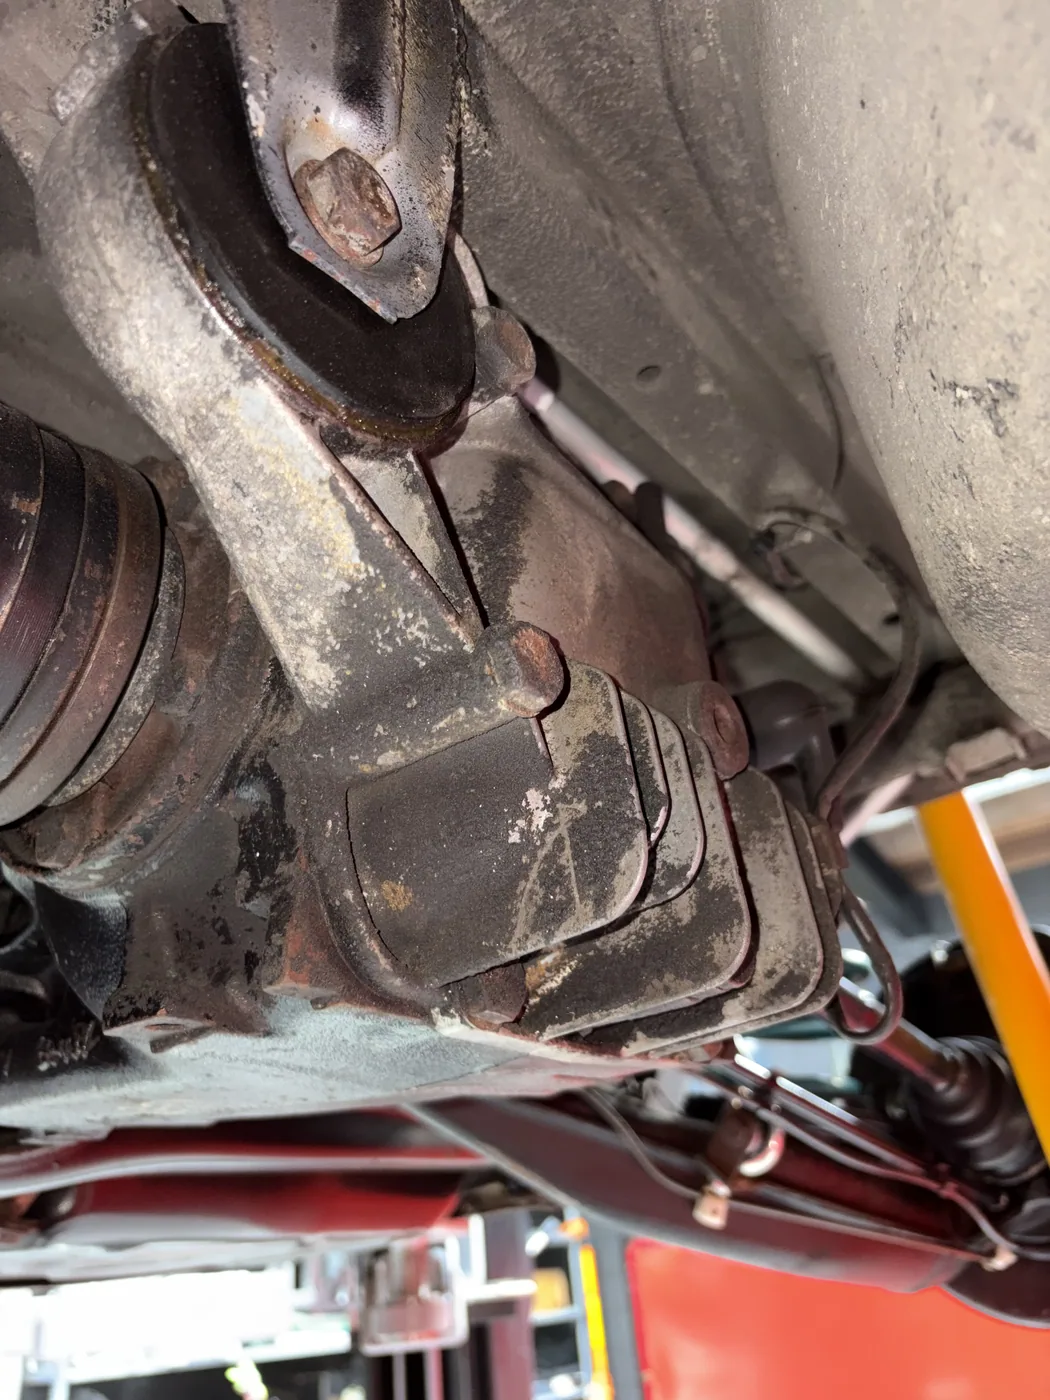
01

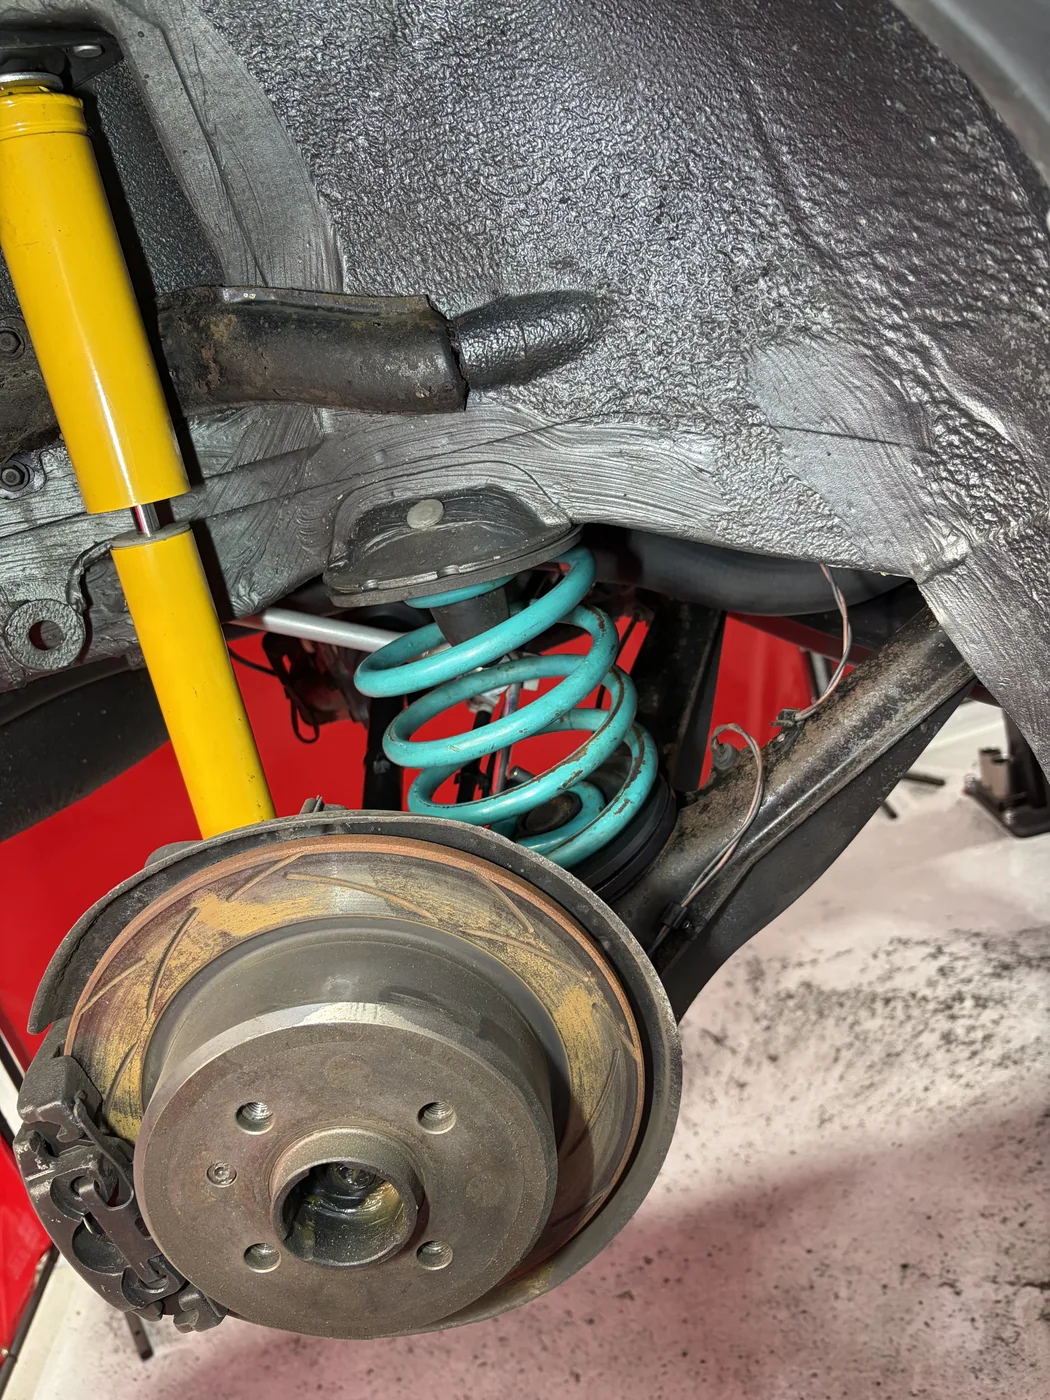
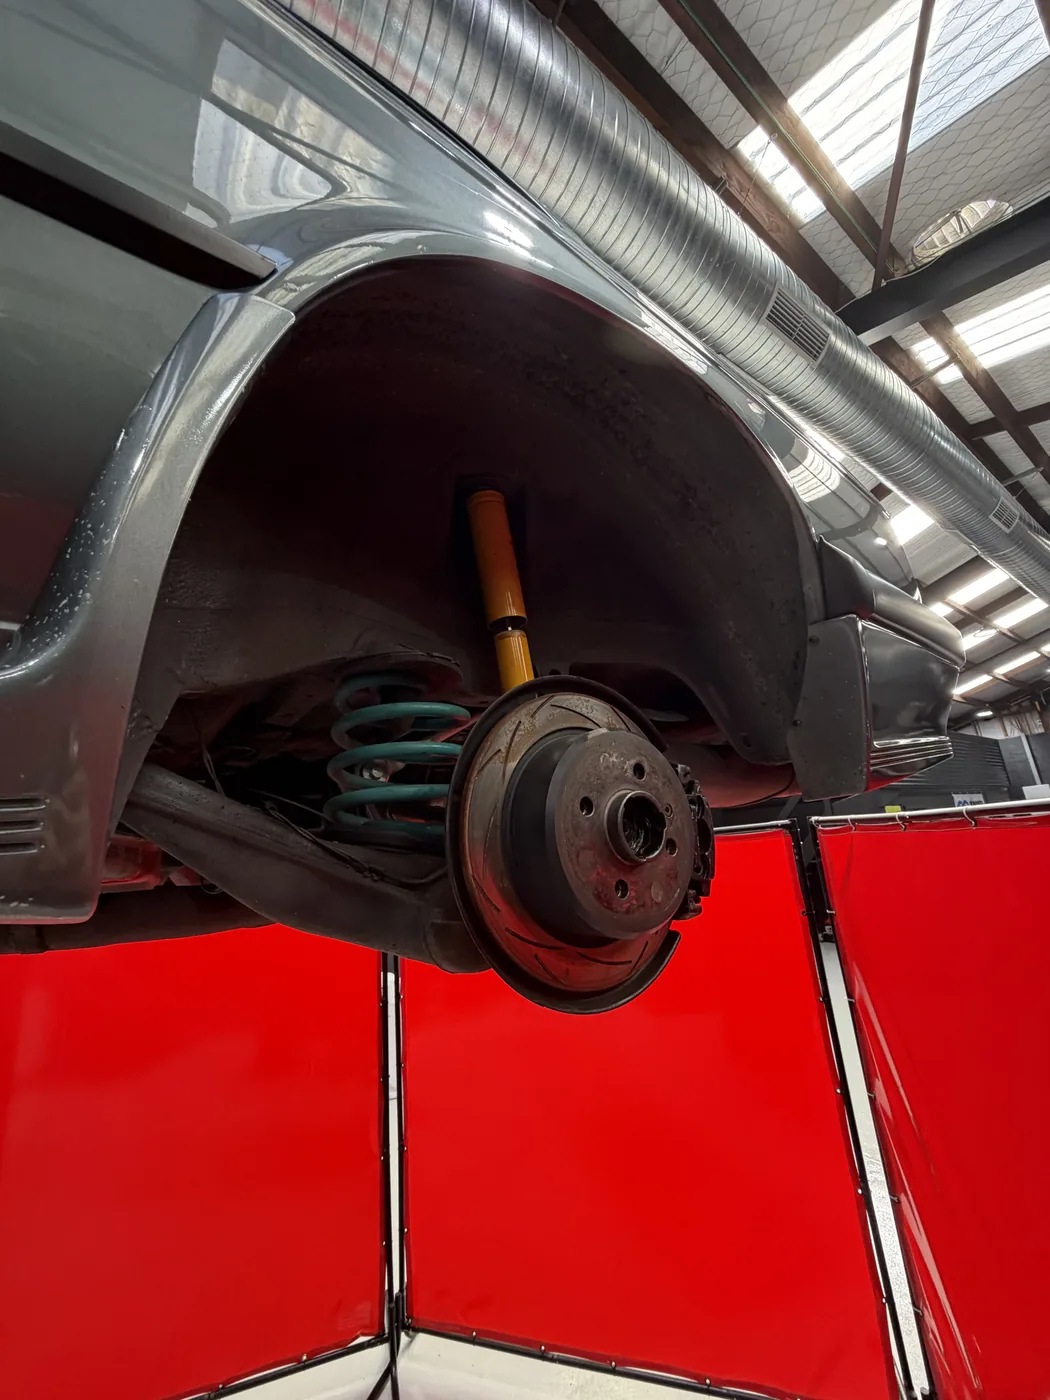
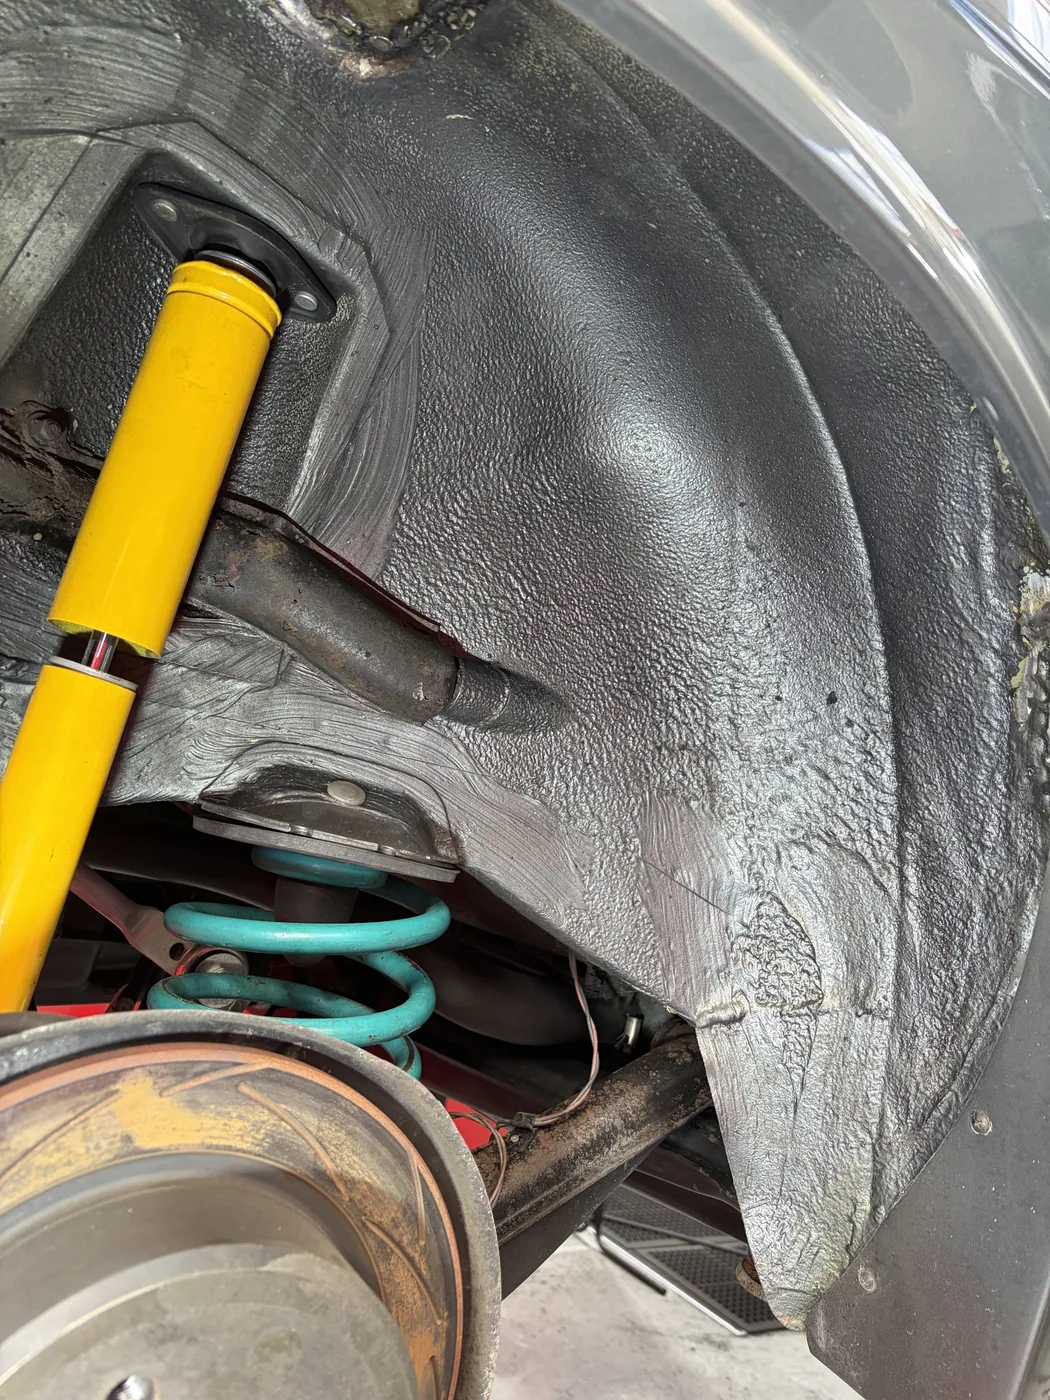
Rear hub, drum & spring seat

Suspension cleaned assembled · nothing removed

Before

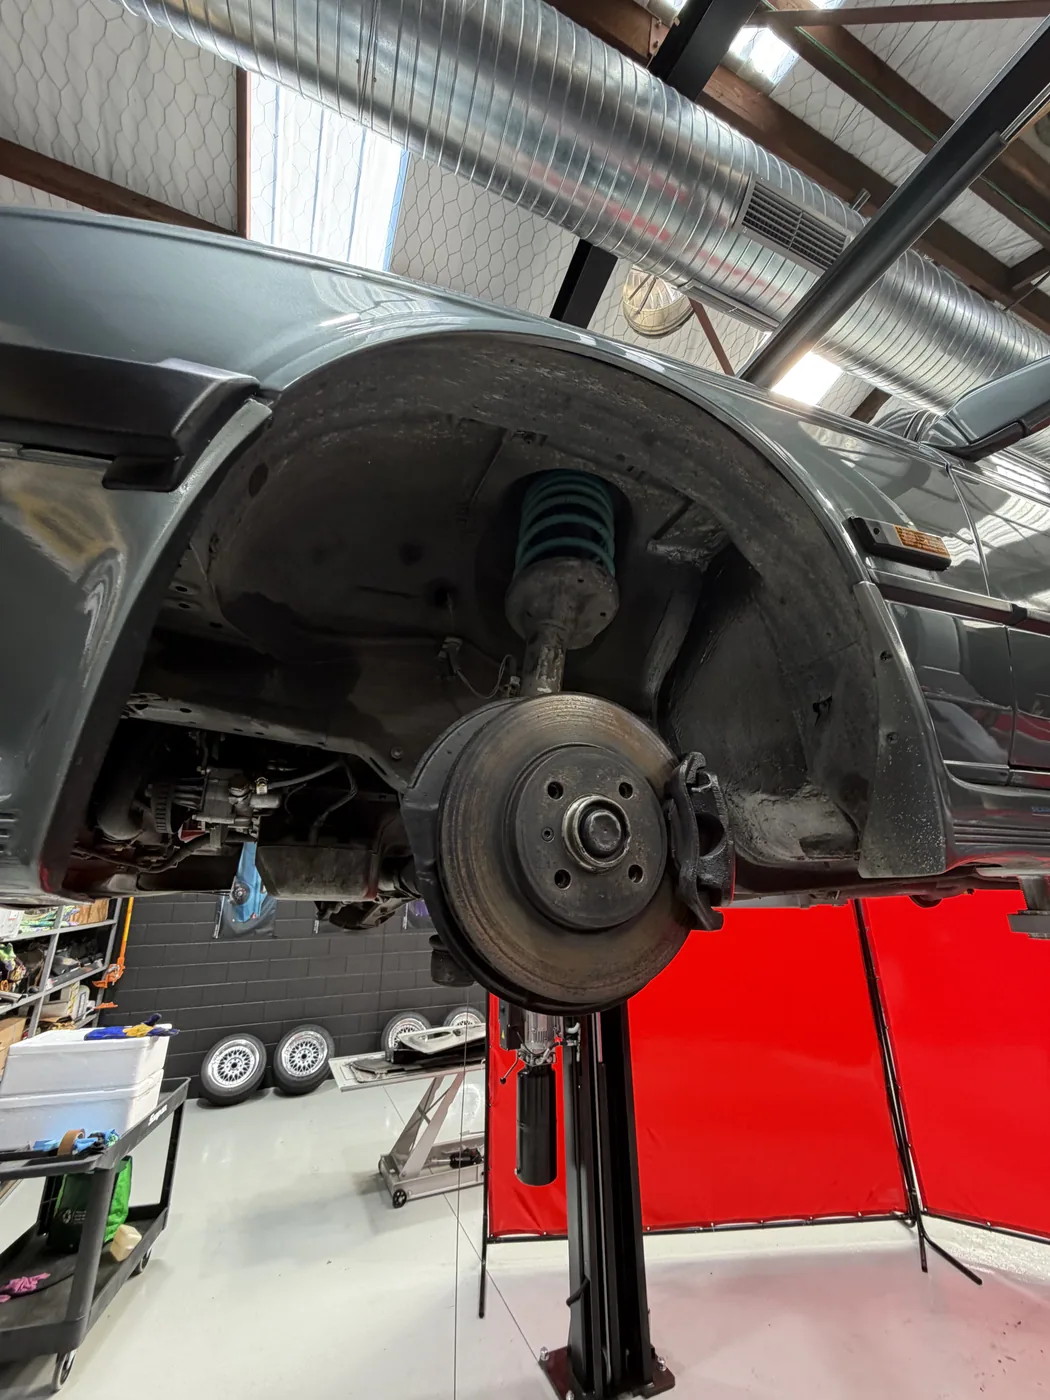
BMW E30 M-Tech 1 rear hub and wheel arch before dry ice cleaning, covered in road film and grime

Drum, arm and spring lost under one flat grey film.

After

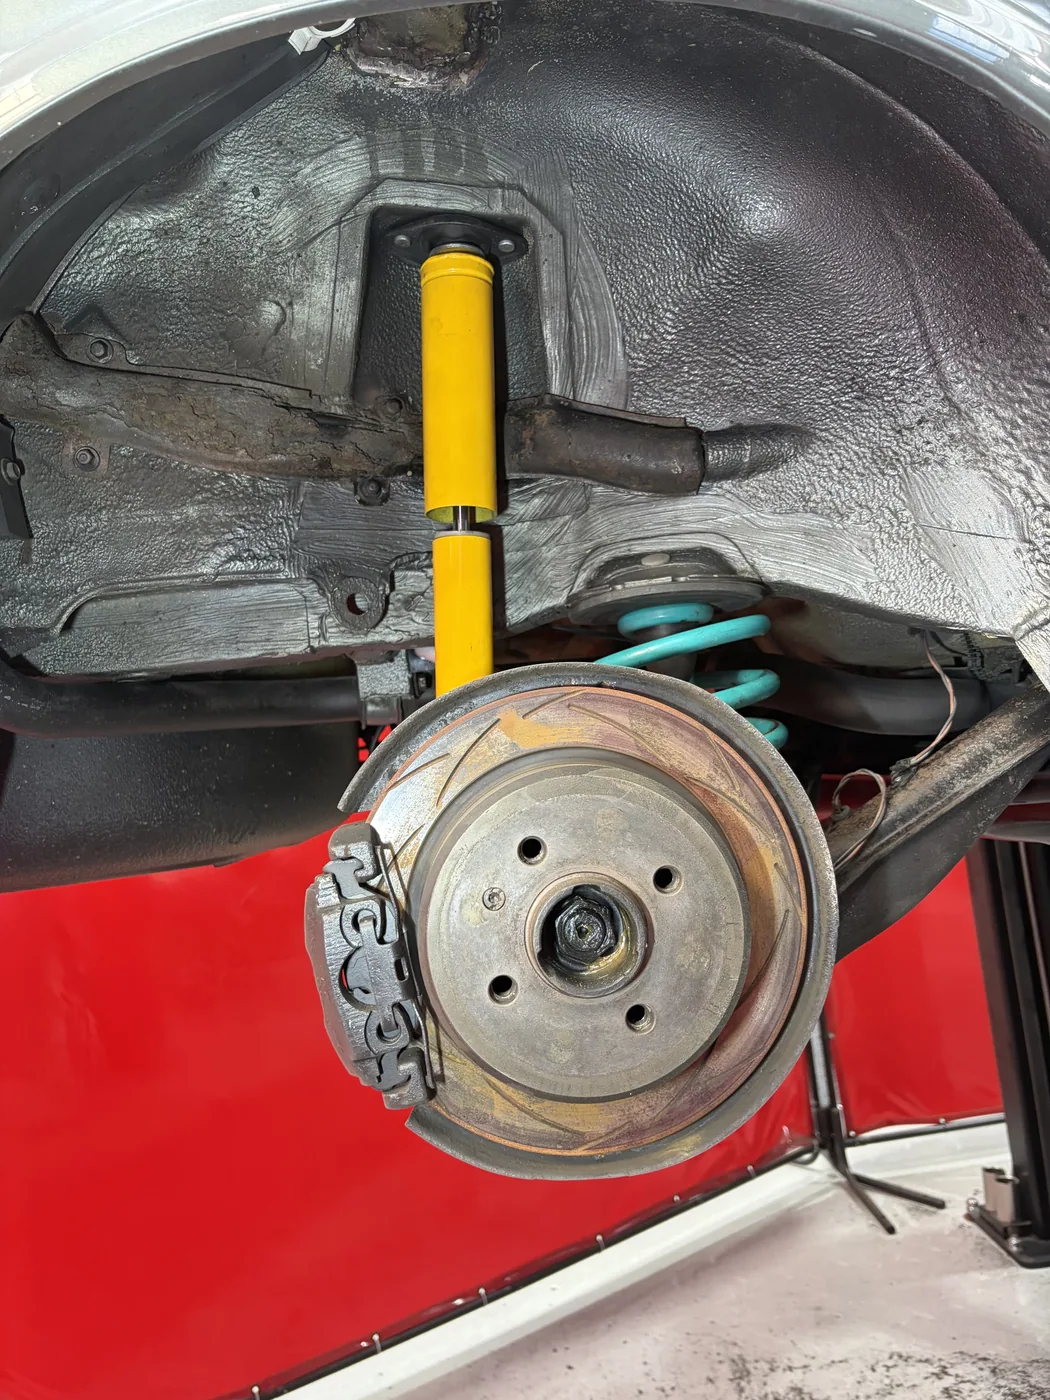
BMW E30 M-Tech 1 rear hub, drum and spring seat after dry ice blasting, clean and dry with underseal intact

Cleaned in place — no strip-down, no masking, no water.

02

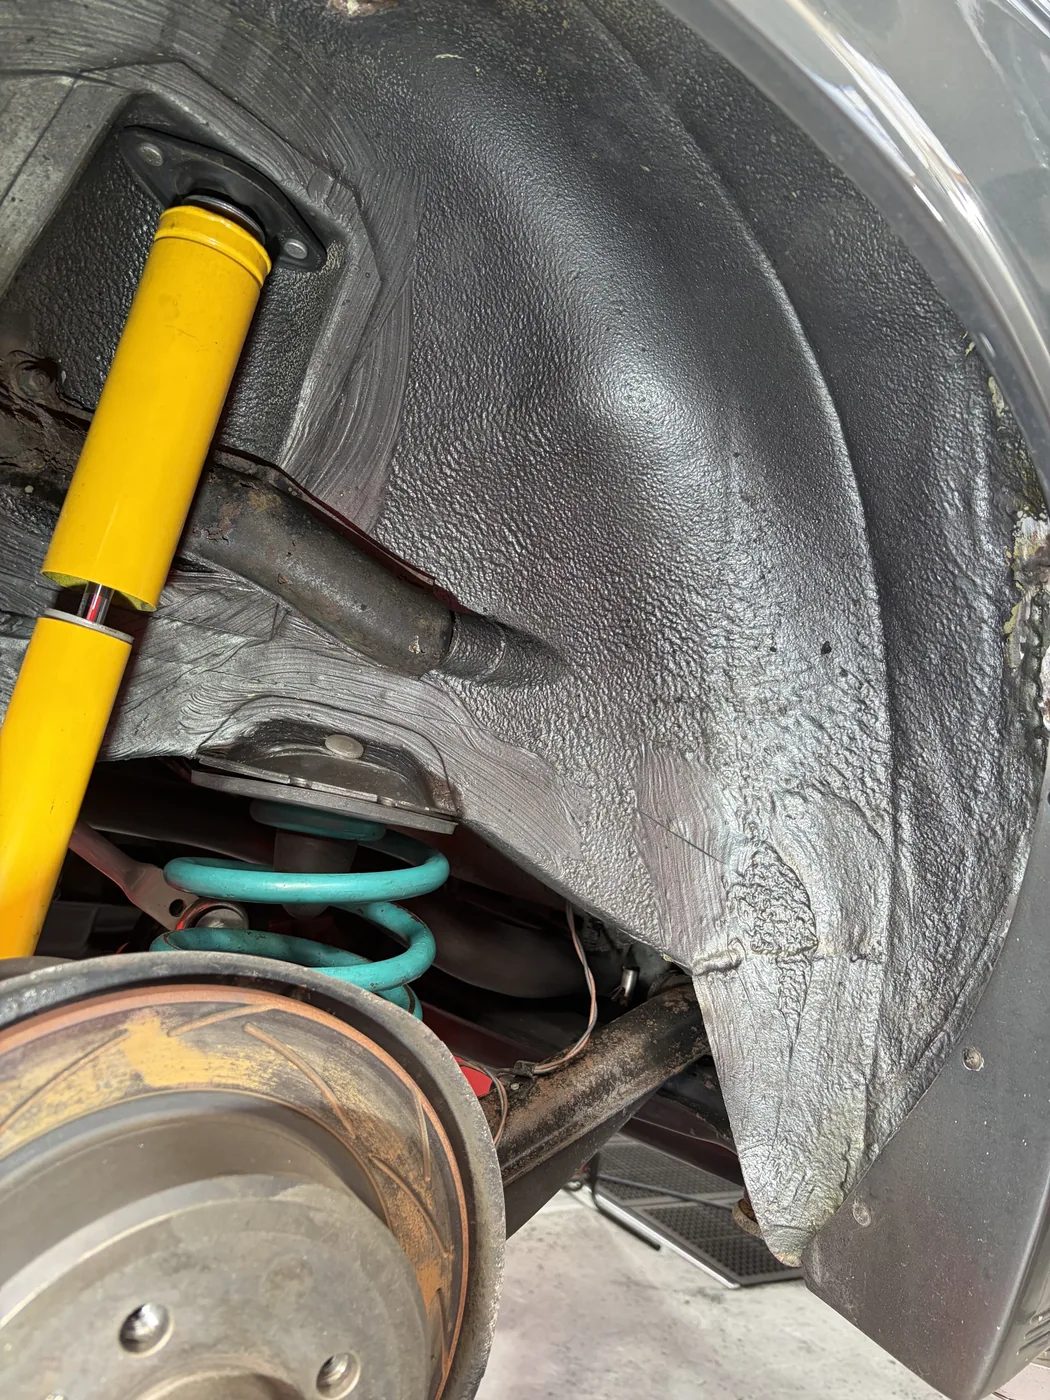
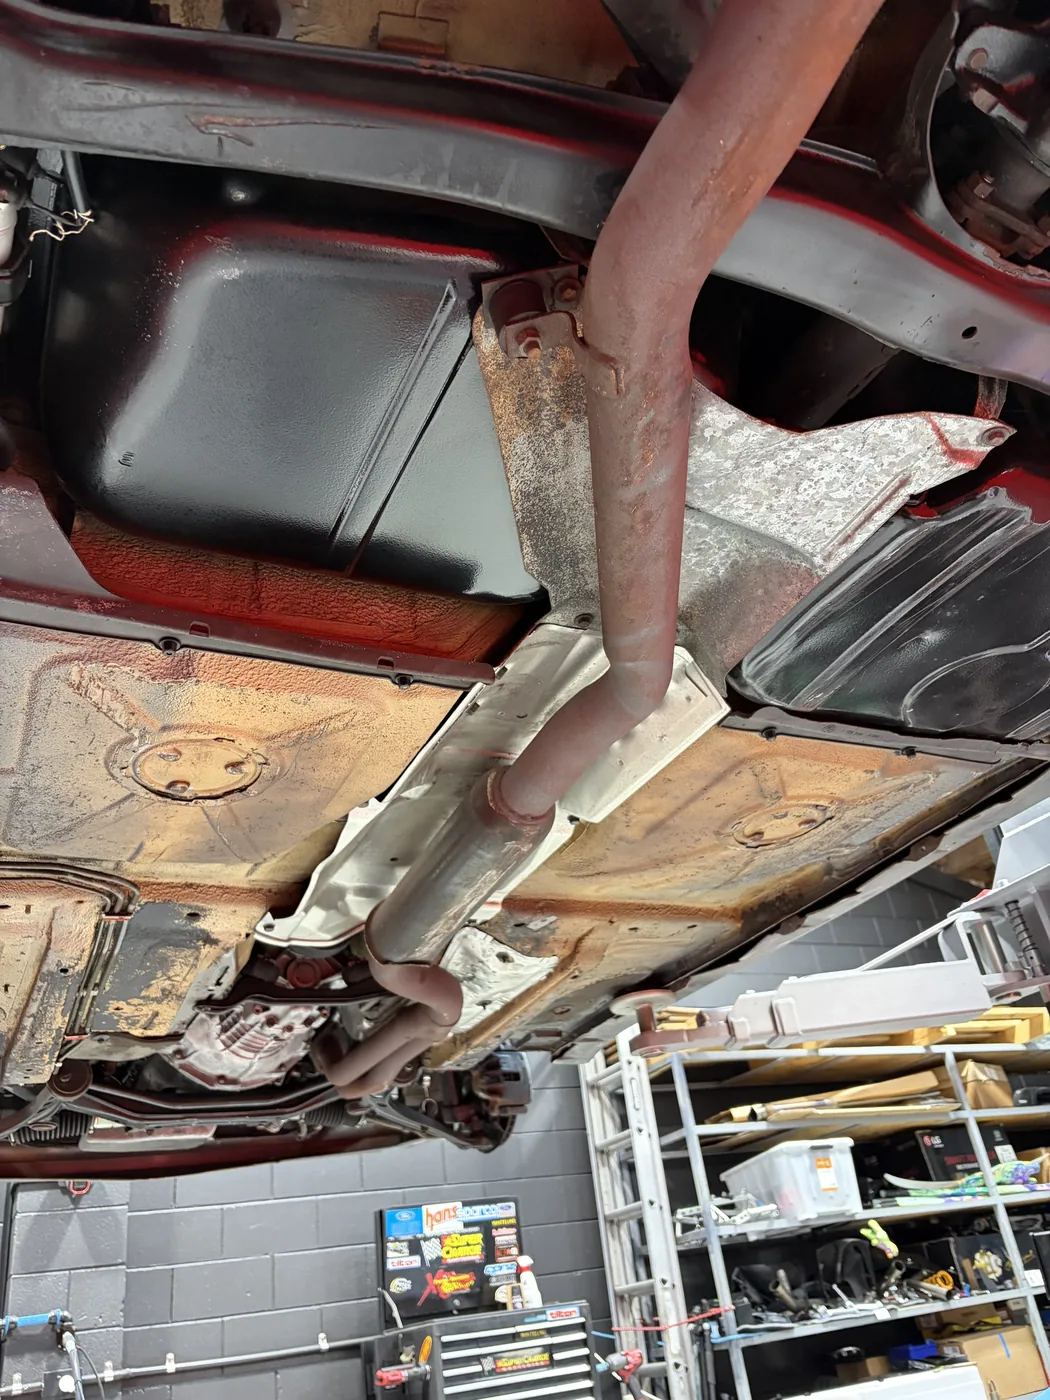
Rear inner guard & damper

Underseal preserved intact

Before

BMW E30 M-Tech 1 rear inner guard before dry ice cleaning, covered in road film and grime

Nothing to inspect — just a dark, uniform crust.

After

BMW E30 M-Tech 1 rear inner guard after dry ice blasting, clean and dry with underseal intact

Factory underseal texture back, and still fully intact.

03

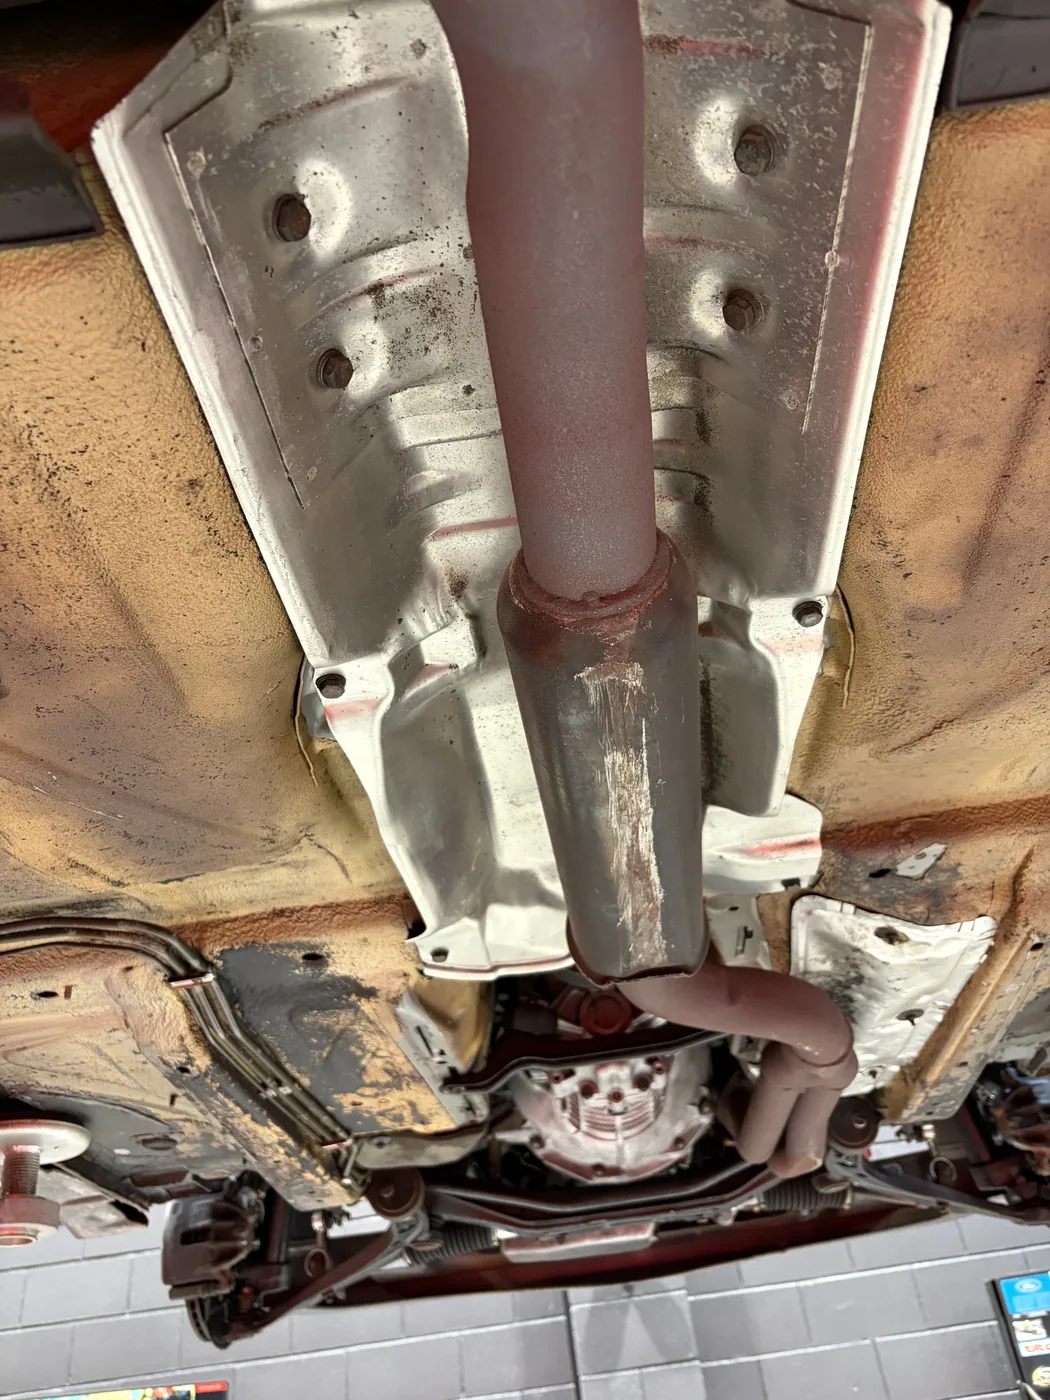
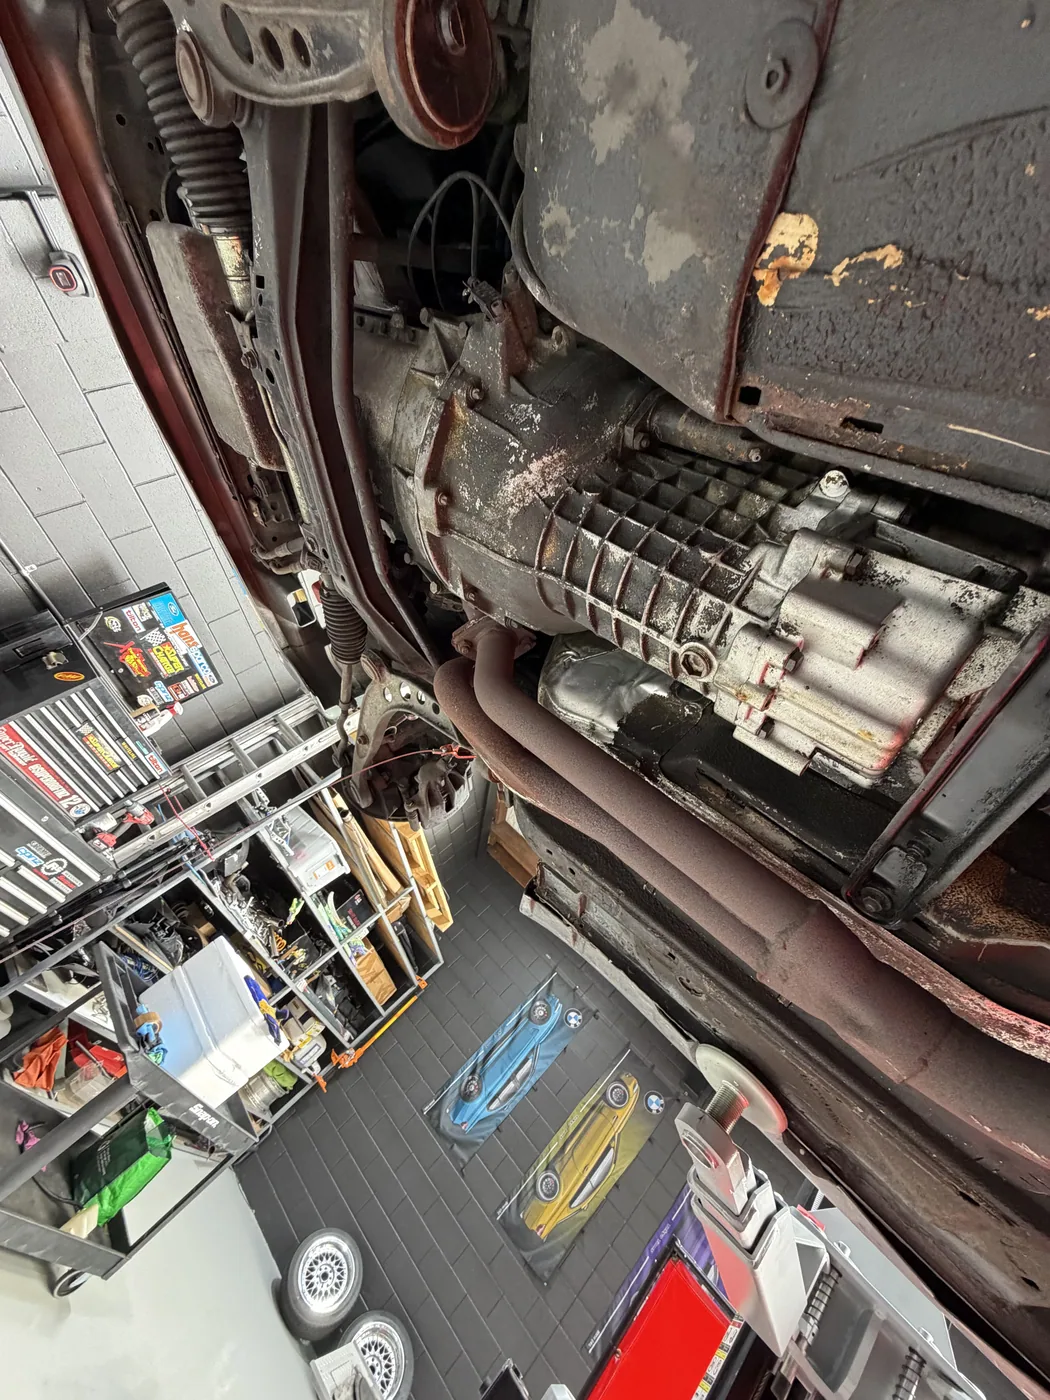
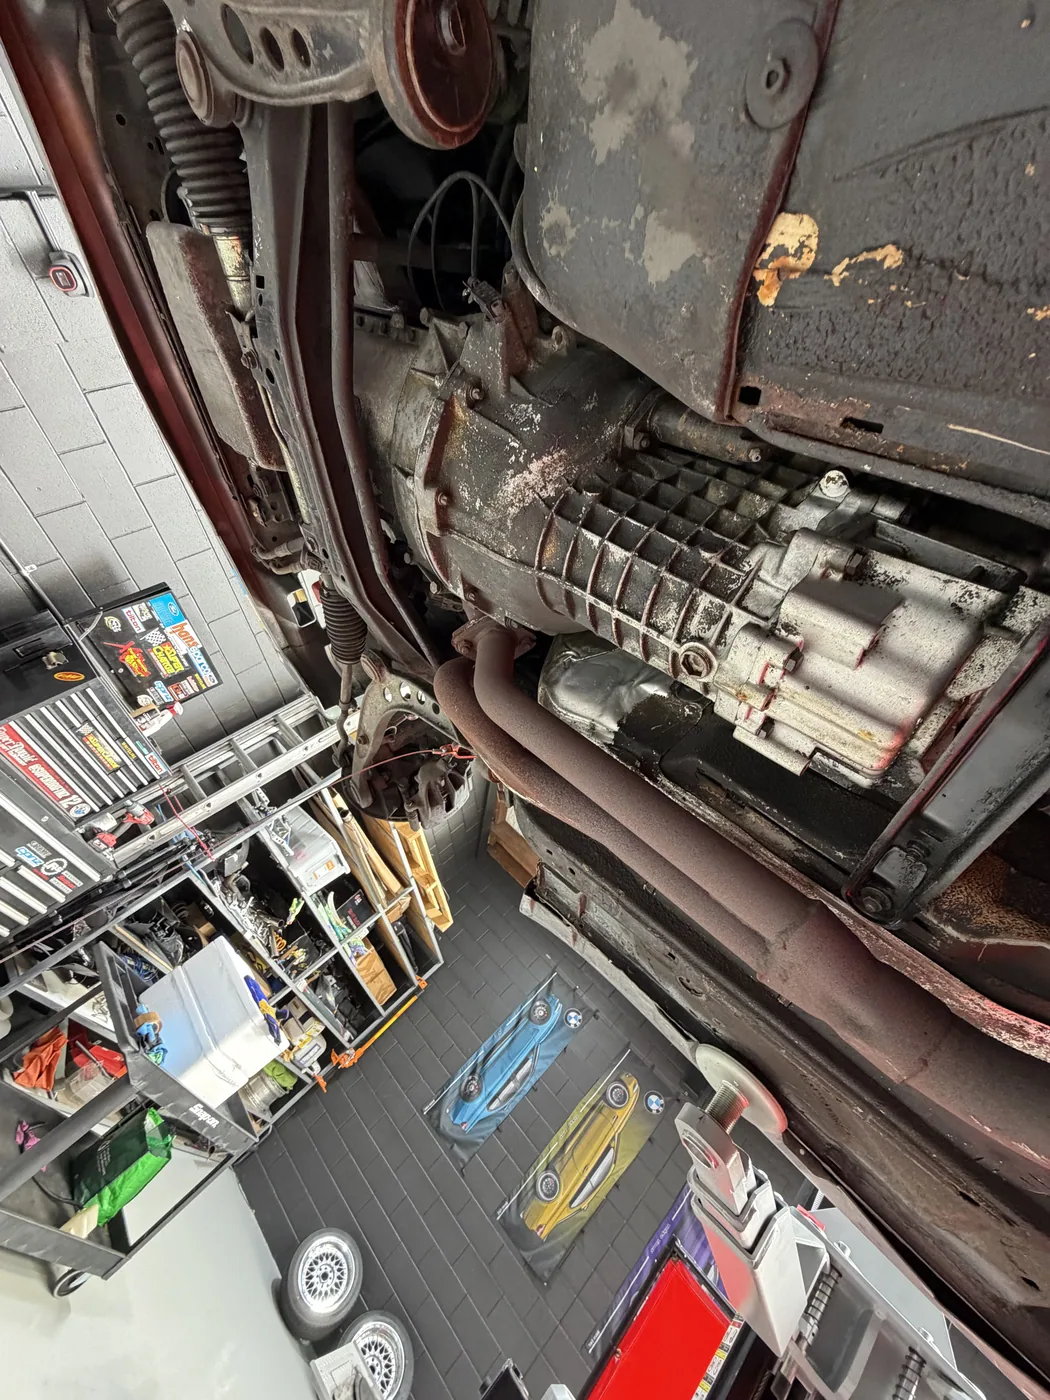
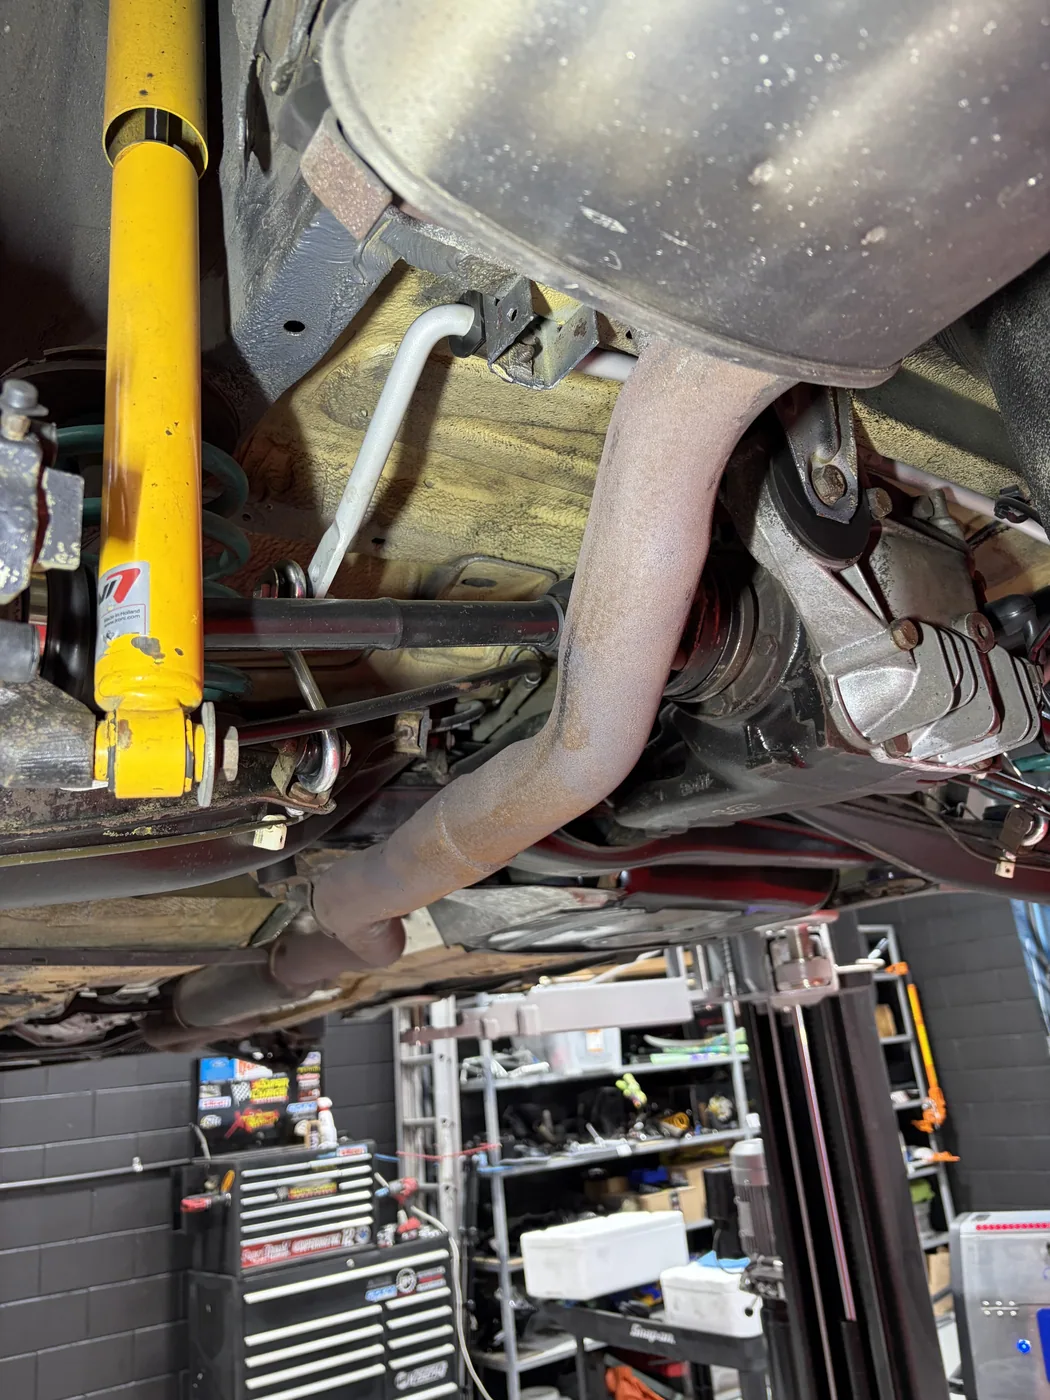
Exhaust run & heat shields

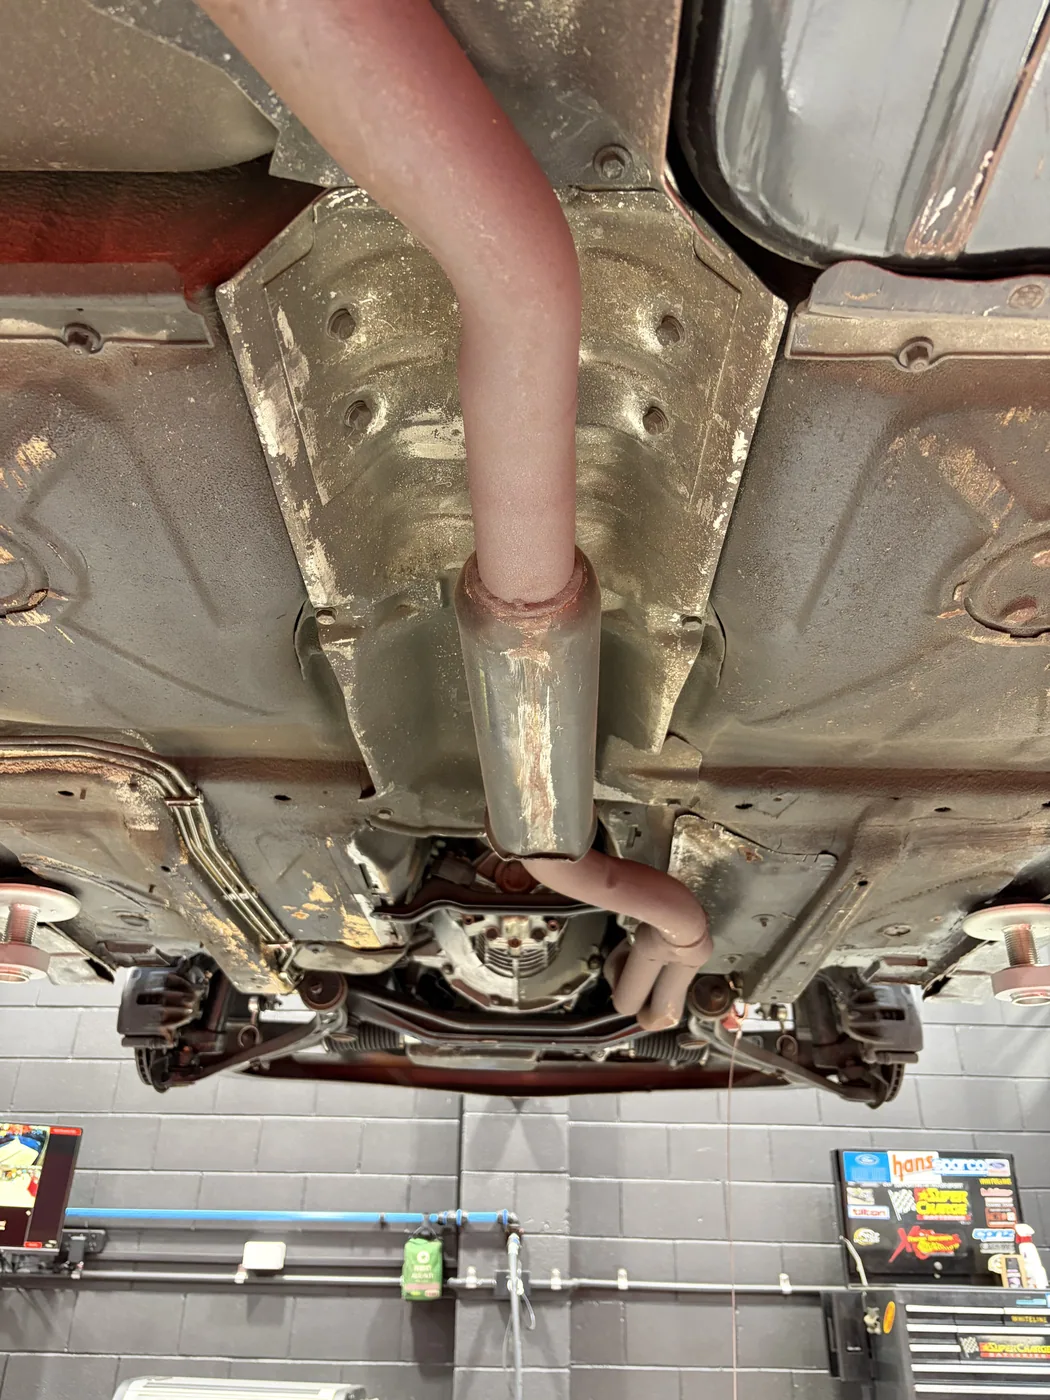
Same frame, same angle, two days apart

Before

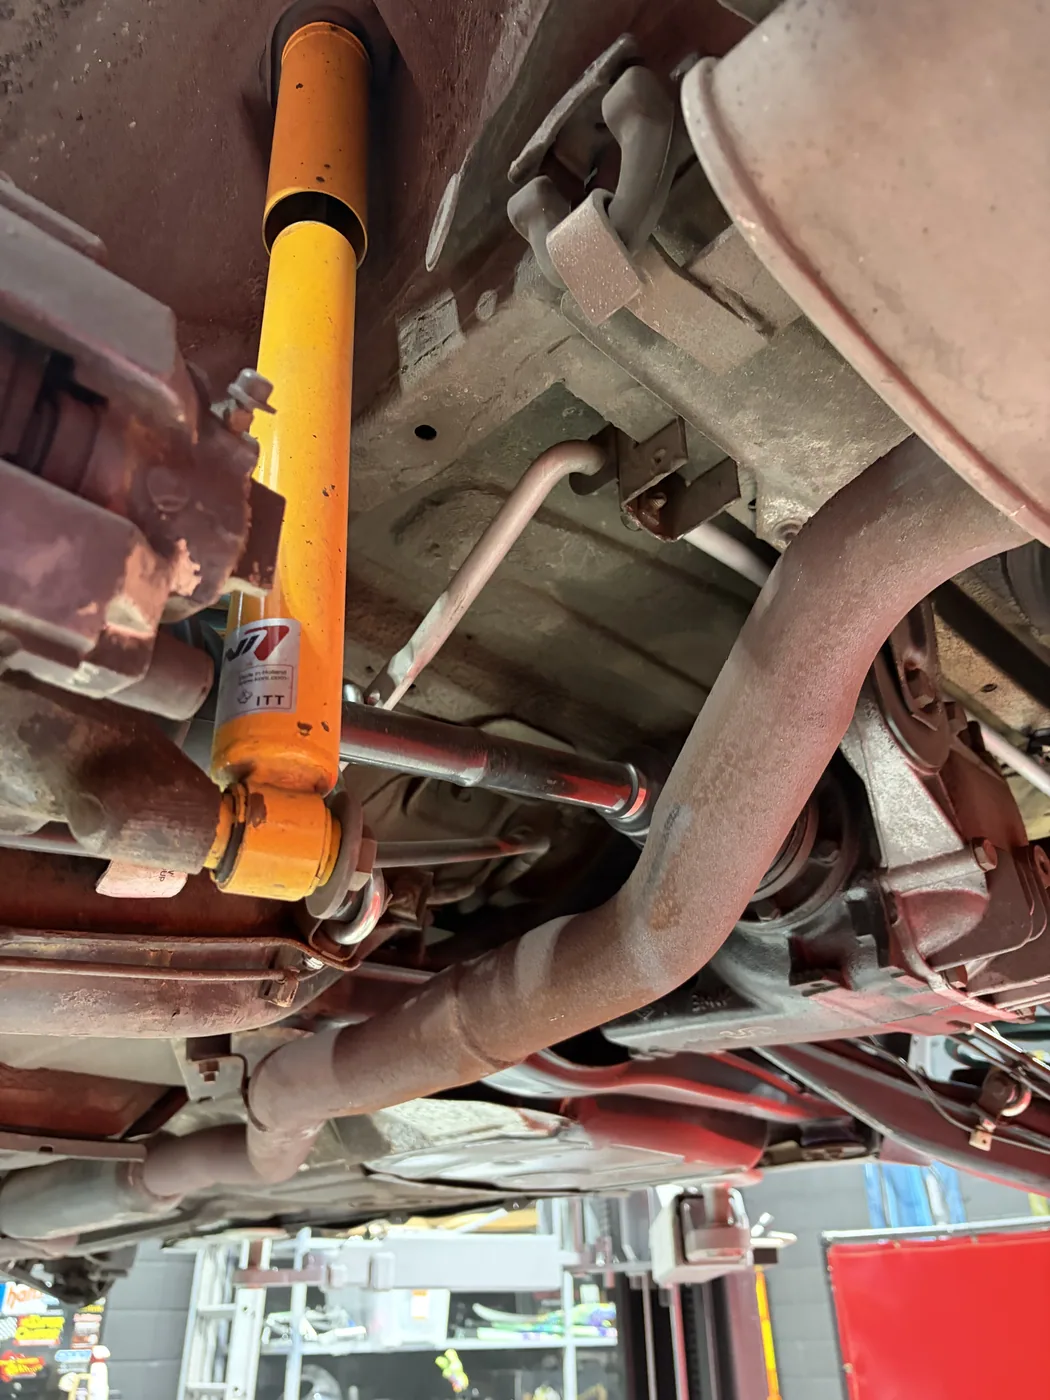
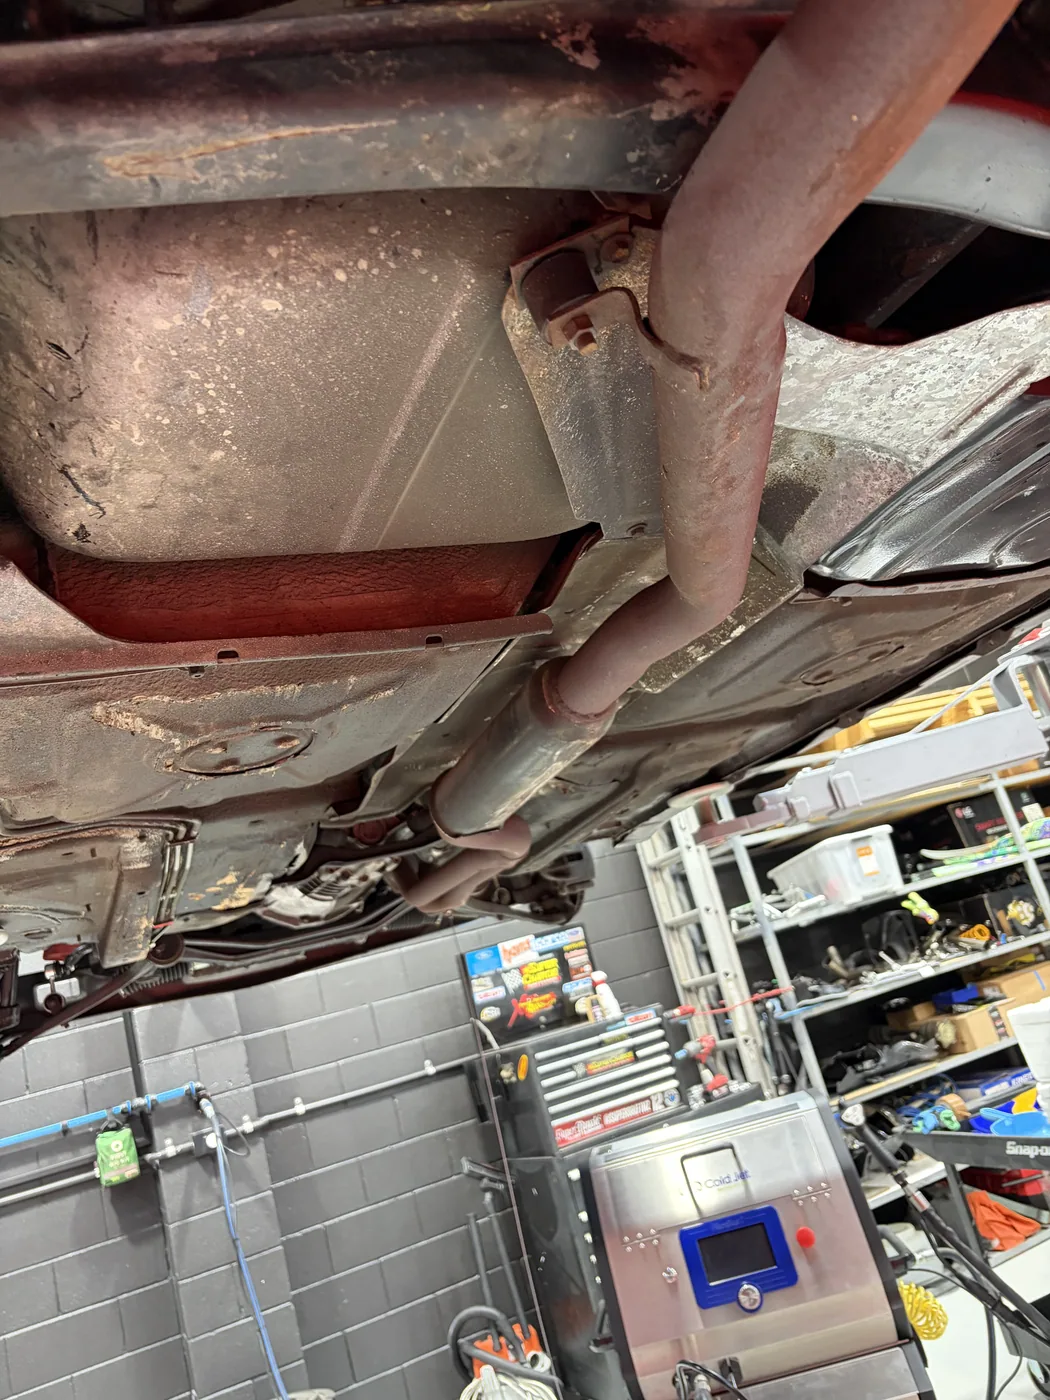
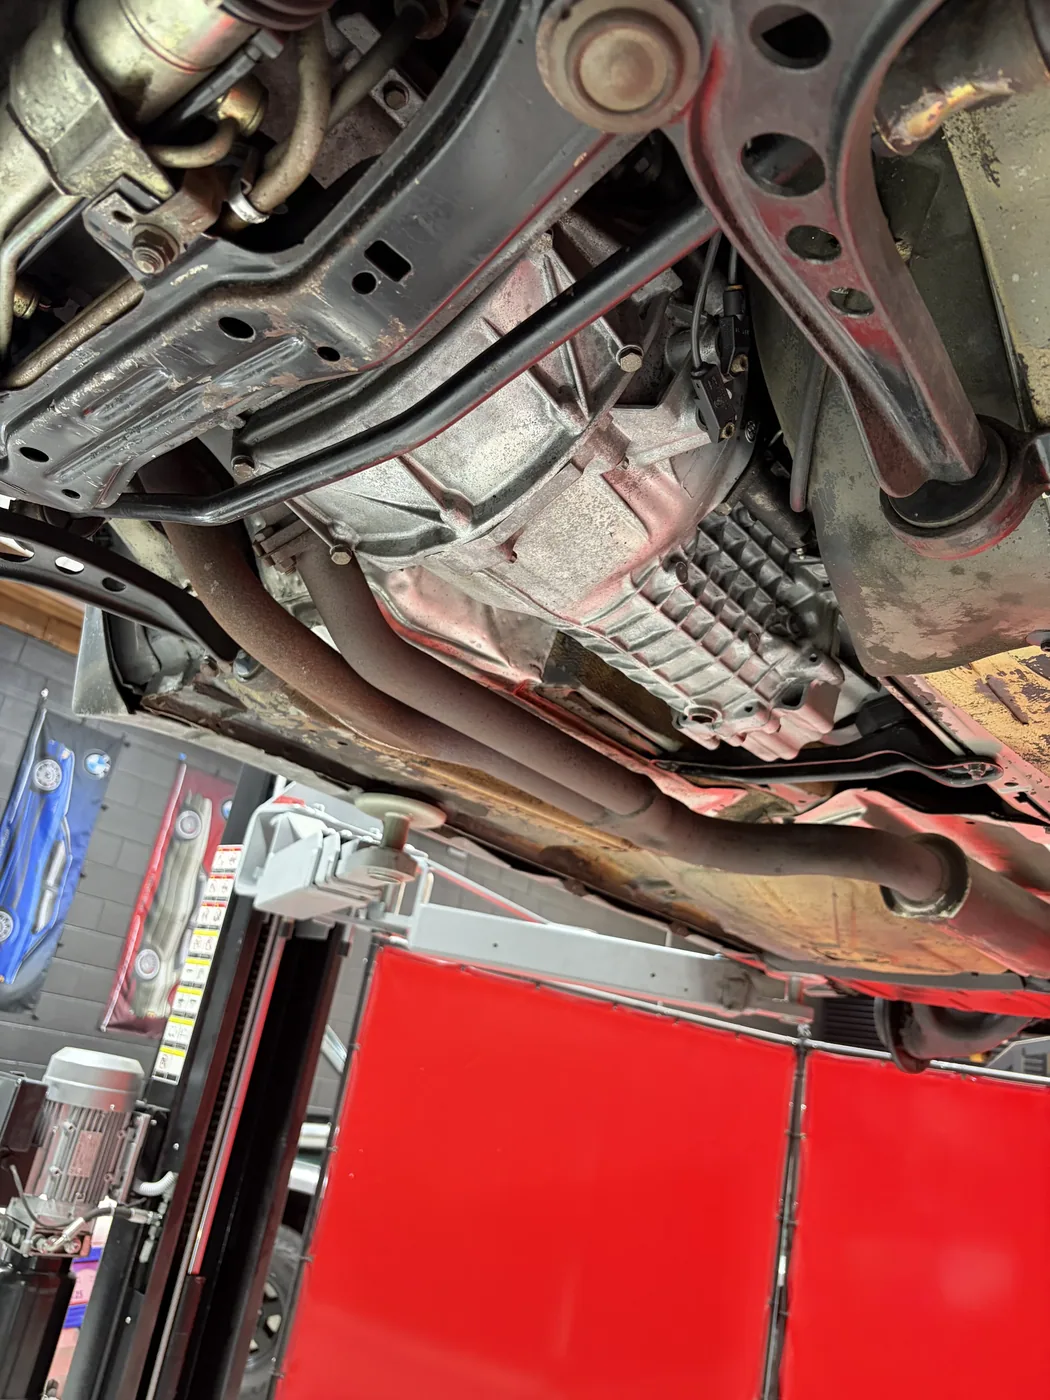
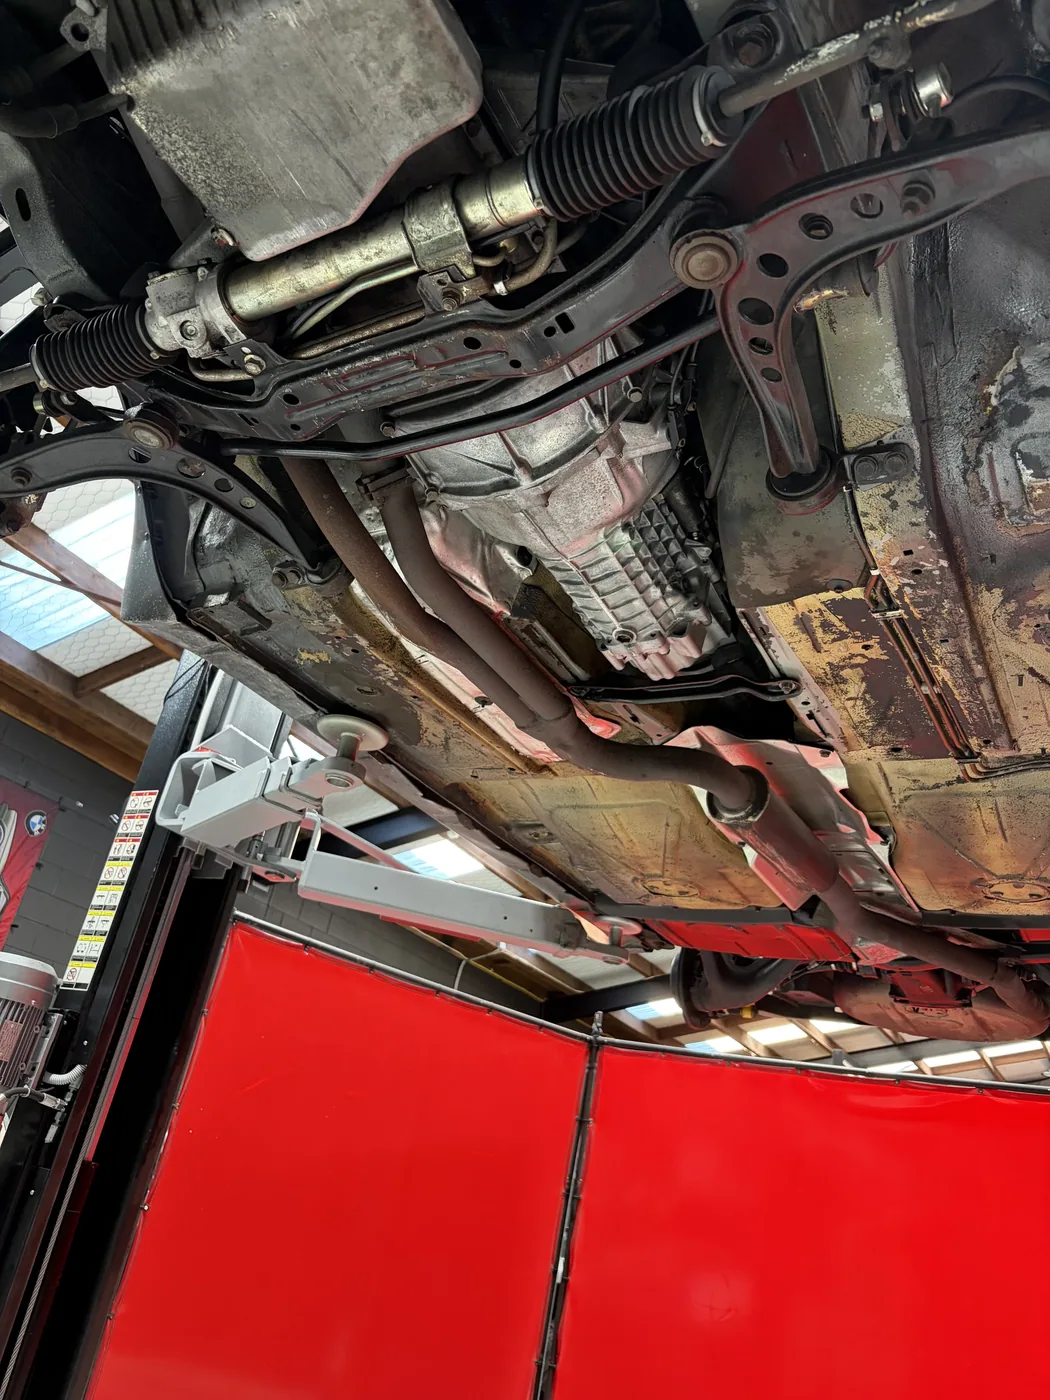
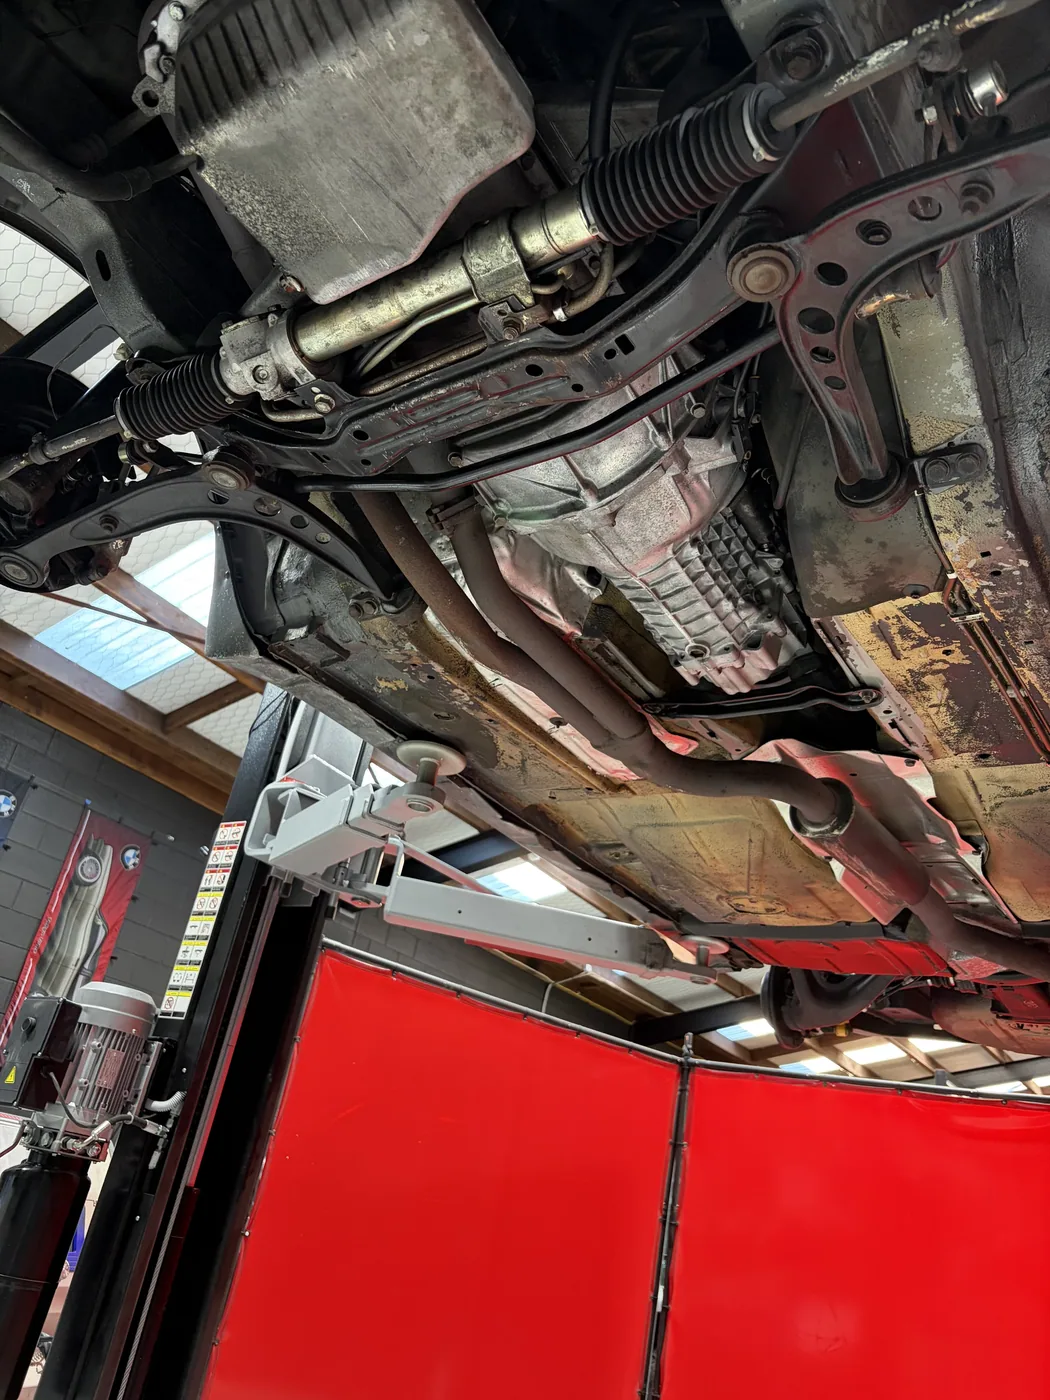
BMW E30 M-Tech 1 exhaust run and heat shields before dry ice cleaning, covered in road film and grime

Shields, seams and pipe joints all reading as one surface.

After

BMW E30 M-Tech 1 exhaust run and heat shields after dry ice blasting, clean and dry with underseal intact

Shields bright — and the surface corrosion underneath finally honest.

This is the pair the restorer cared about most. Dry ice doesn’t hide anything: taking the film off exposed the surface rust along the floor pan seam, which is exactly what needed quoting before the car went any further.

04

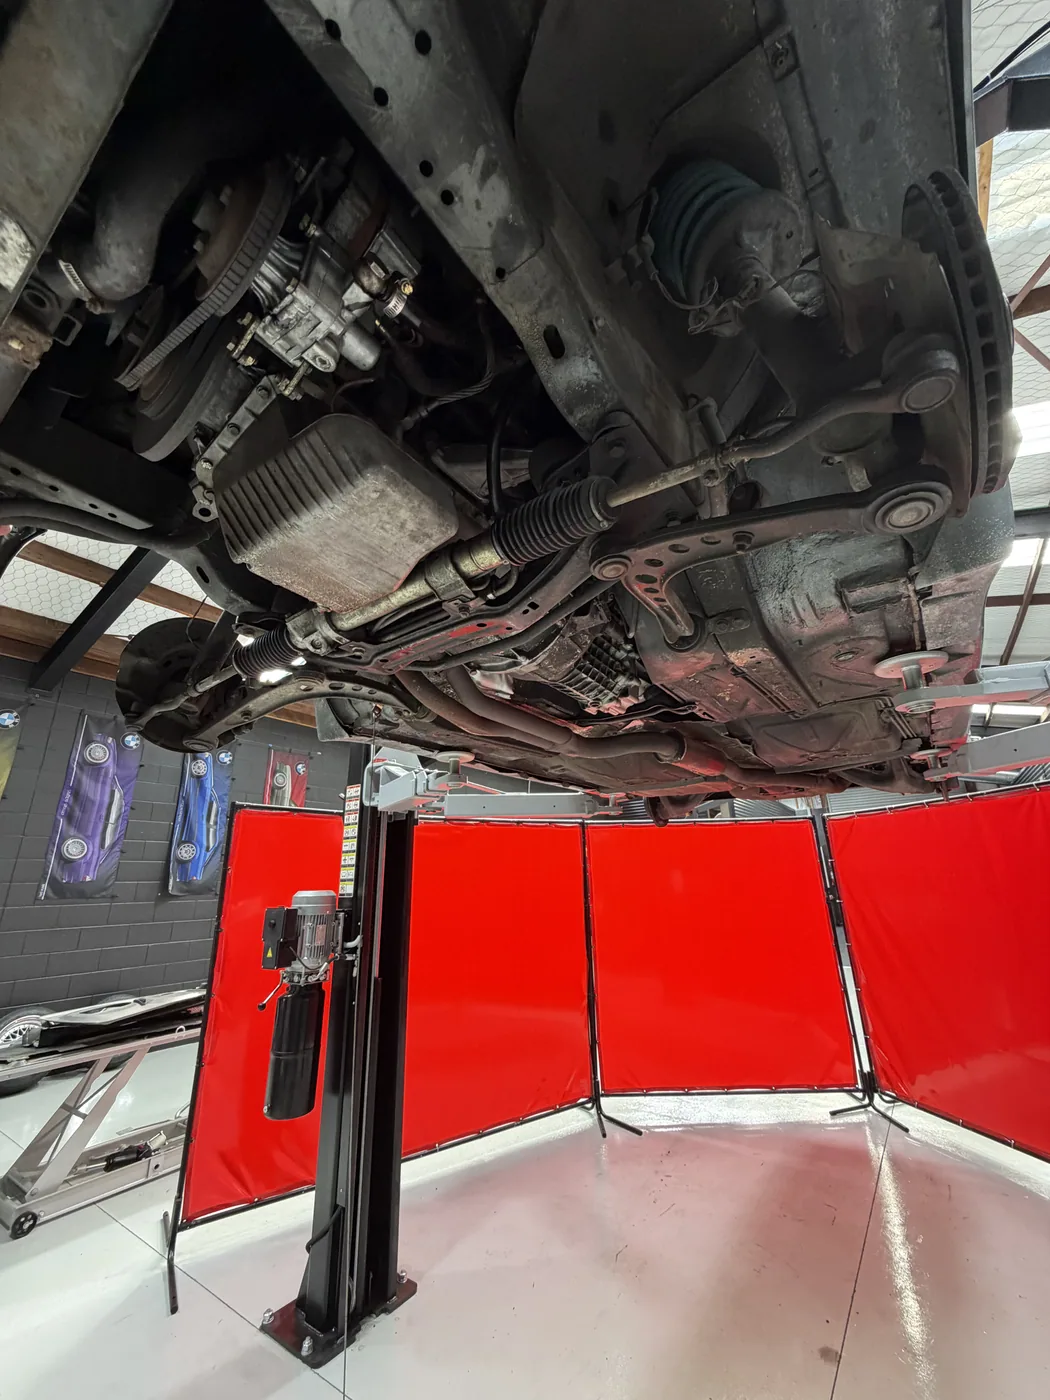
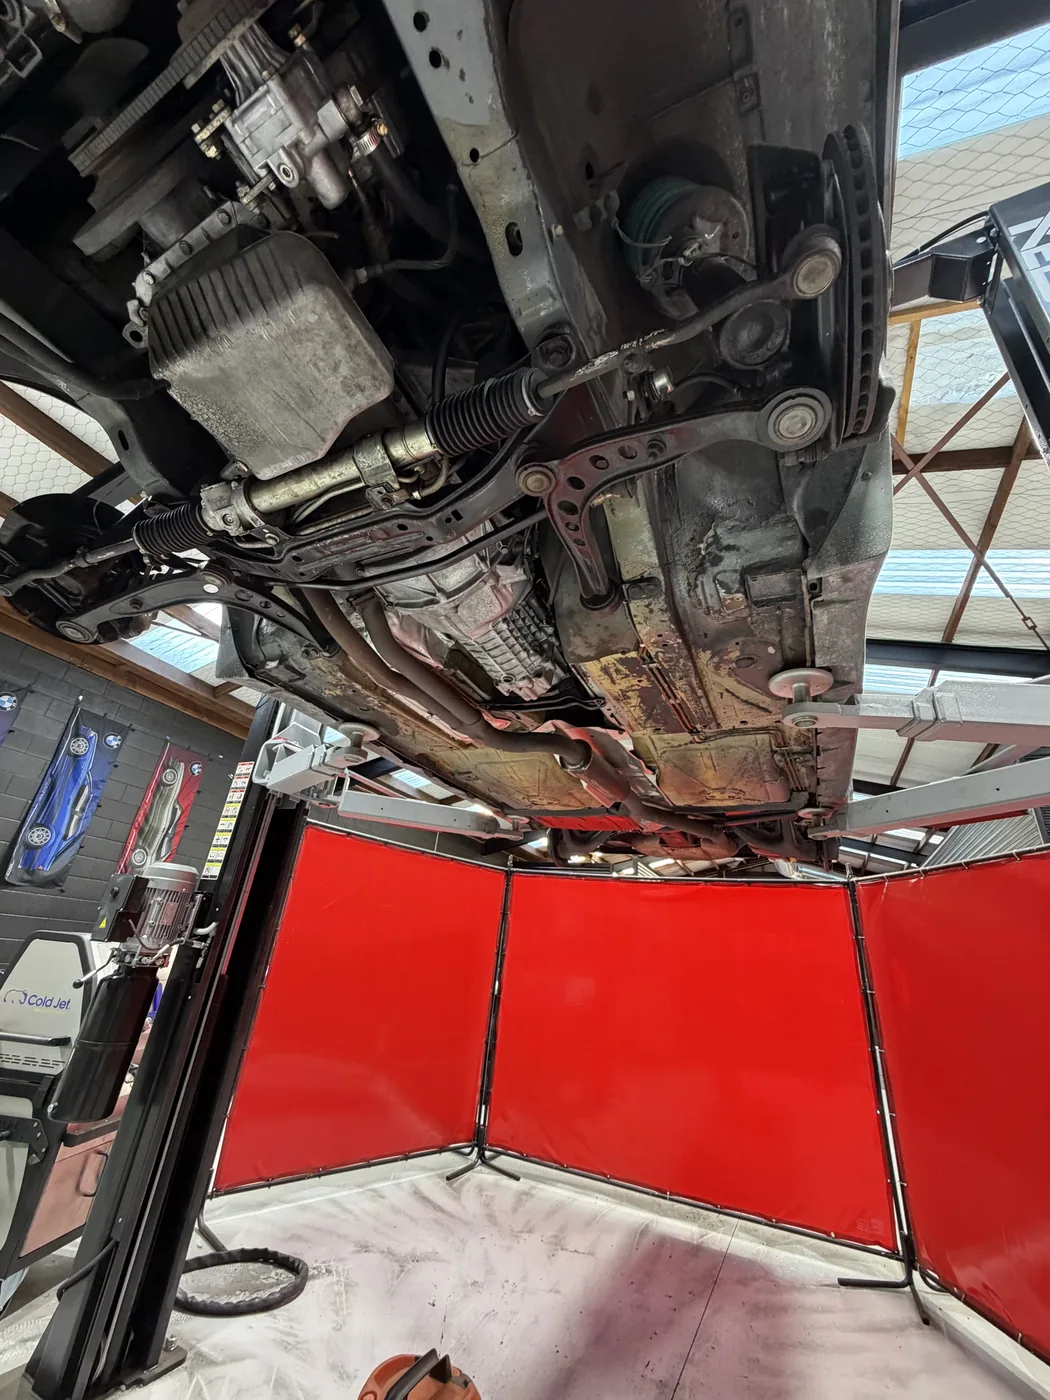
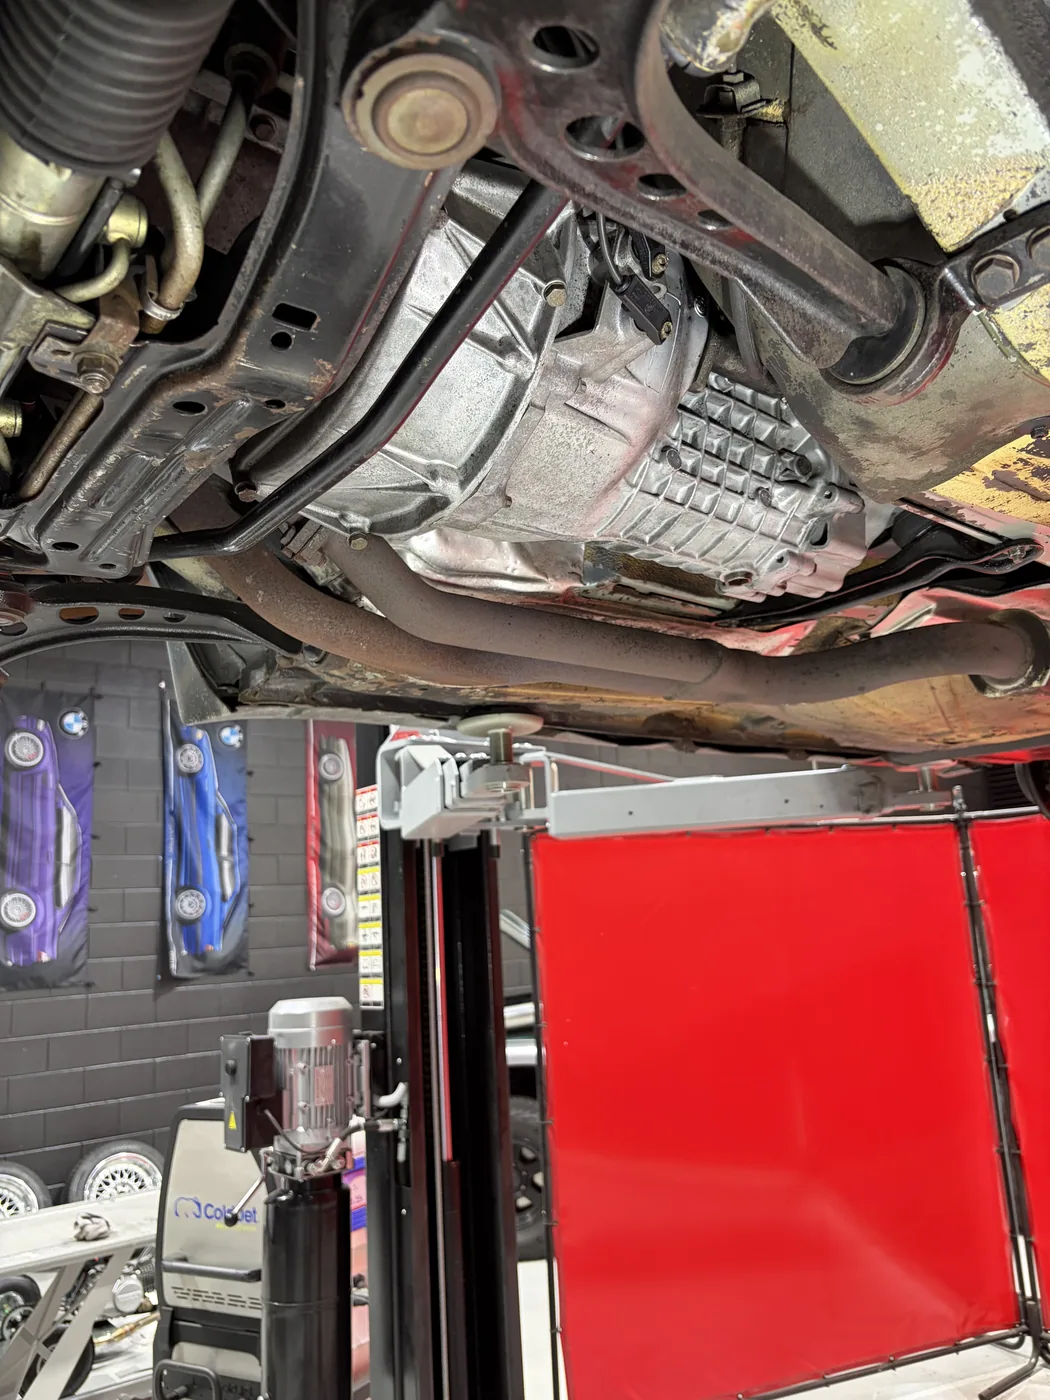
Full underbody — front subframe to floor

Two days on the hoist

Before

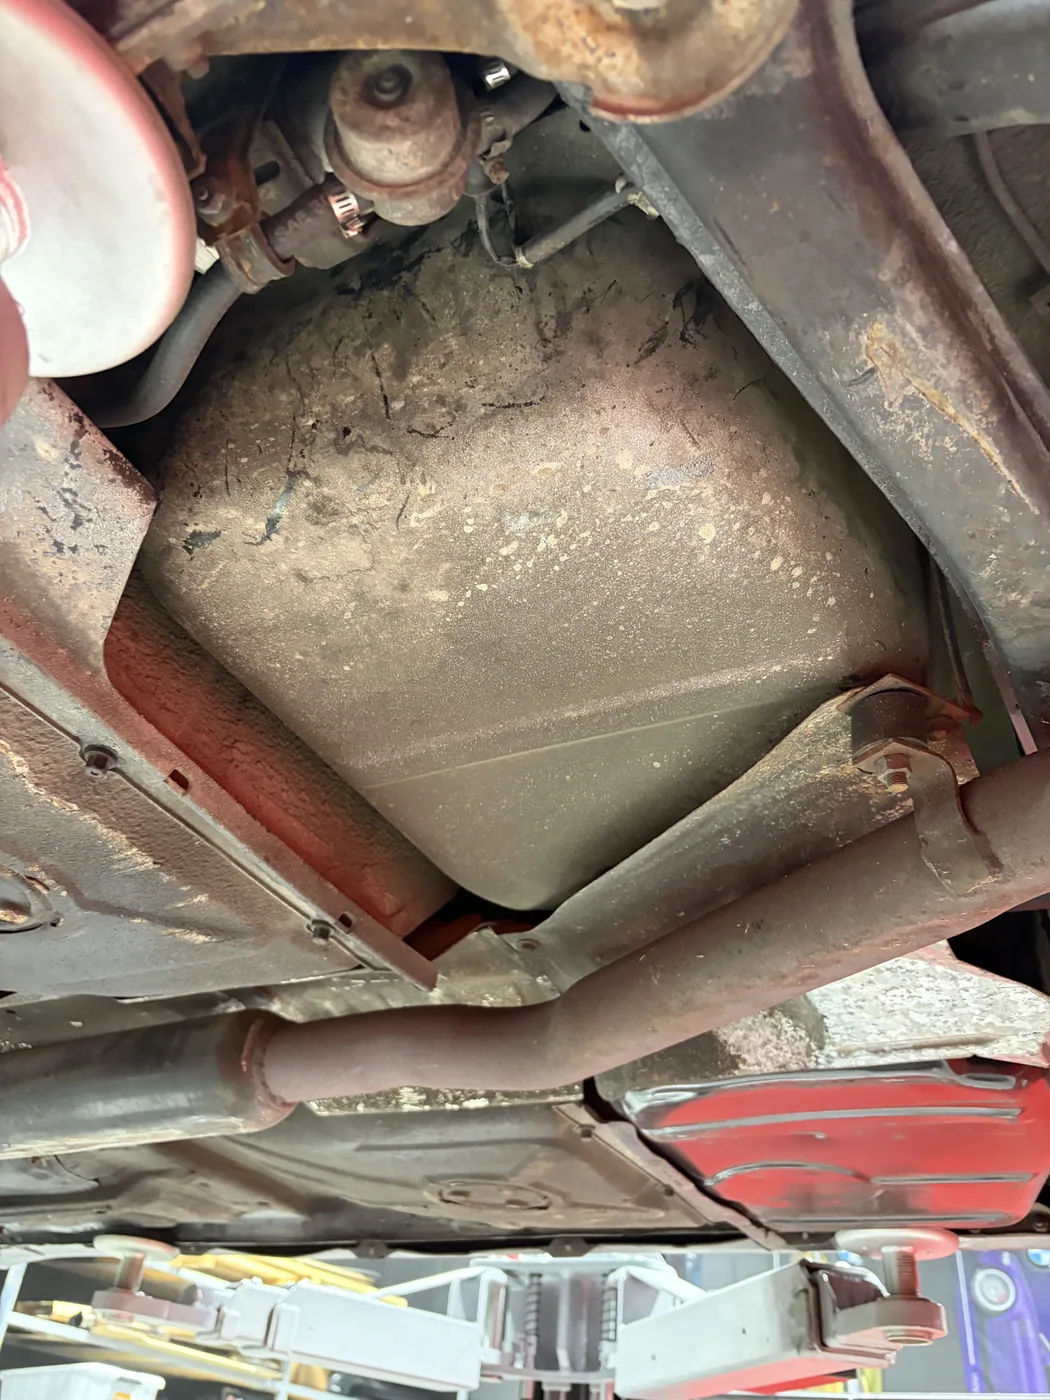
BMW E30 M-Tech 1 full underbody before dry ice cleaning, covered in road film and grime

Everything the same colour: dirt.

After

BMW E30 M-Tech 1 full underbody after dry ice blasting, clean and dry with underseal intact

Arms, pressings and hardware separating out again.

On film

The same walk, twice

The same pass under the car, filmed on day one and again at handover. The footage is otherwise untouched.

Before

Day one — the same corner, untouched.

After

Handover — same corner, same angle.

What to watch for

The spring. On day one it’s the same colour as everything around it; by handover it’s teal again, and you can see where the damper body ends and the arch begins.

Nothing in either clip is staged. Same hoist, same lamp, same phone — the camera never moved between the two passes, so the only variable is the dirt.

Both clips shot on the hoist, rear driver’s side.

Before

Front strut, inner arch and crossmember — day one.

What we look for on the survey pass

Before anything is switched on, the whole underside gets filmed. It sets the baseline the client signs off against, and it flags what dry ice will and won’t fix — flaking underseal that needs replacing, corrosion that needs a restorer, connectors that get taped before we start.

How it ran

Survey, bulk, detail, hand over

01

Survey & mask

Full photo and video baseline. Connectors, breathers and anything with an open seal get taped. Extraction positioned under the working zone.

02

Bulk pass

Wide nozzle, moderate pressure, working front to back. Lifts the loose road film and oil mist without loading the surface with energy it doesn’t need.

03

Detail pass

Narrow nozzle into seams, spring seats, subframe pockets and the areas a lance can’t reach square-on. This is where most of the hours go.

04

Inspect & hand over

Sweep the floor, walk the car with the restorer, shoot the after set from the same marks as the before set. The car leaves dry and ready to work on.

The outcome

Inspectable,
not just clean

The restorer got a shell they could photograph, weld to and quote on the same afternoon. Original factory markings survived intact, which matters more on an unrestored M-Tech than any amount of shine.

[PLACEHOLDER — replace with a real, attributable client quote.]
[PLACEHOLDER — name]
[PLACEHOLDER — workshop / role]

Got one like this?

Send us the worst photo you’ve got

Tell us what the car is and what’s under it. We’ll tell you straight whether dry ice is the right call, what it’ll take, and what it won’t fix.

More projects

Next in the book